How to Use CapCut Template for Vlogs
You can now make vlogs that people want to watch more easily than ever with apps like CapCut. CapCut has a lot of ready-made themes that can help you improve your vlogs quickly, even if you haven’t made videos before. If you follow the steps in this piece, you’ll be able how to use the CapCut template for vlogs to make movies that look great quickly and easily.
What is CapCut and Why Use It for Vlogs?
How to Use CapCut Template for Vlogs? CapCut is a great app for editing movies that is also very easy to use. People who make videos, post material, and use social media all love it. There are many tools in the app that can be used to change movies. For example, you can cut, trim, add effects, and add music. Because it comes with ready-made themes, it stands out. These are great for vloggers who want to save time without lowering the quality of their work.
When you use CapCut themes for vlogs, you can use just a few taps to give your videos unique looks, transitions, and effects. On sites like YouTube, Instagram, and TikTok, your blog will stand out if you use the themes to make it look fancy and unique.
How to Access and Choose the Right CapCut Template for Your Vlog
Download and Install CapCut
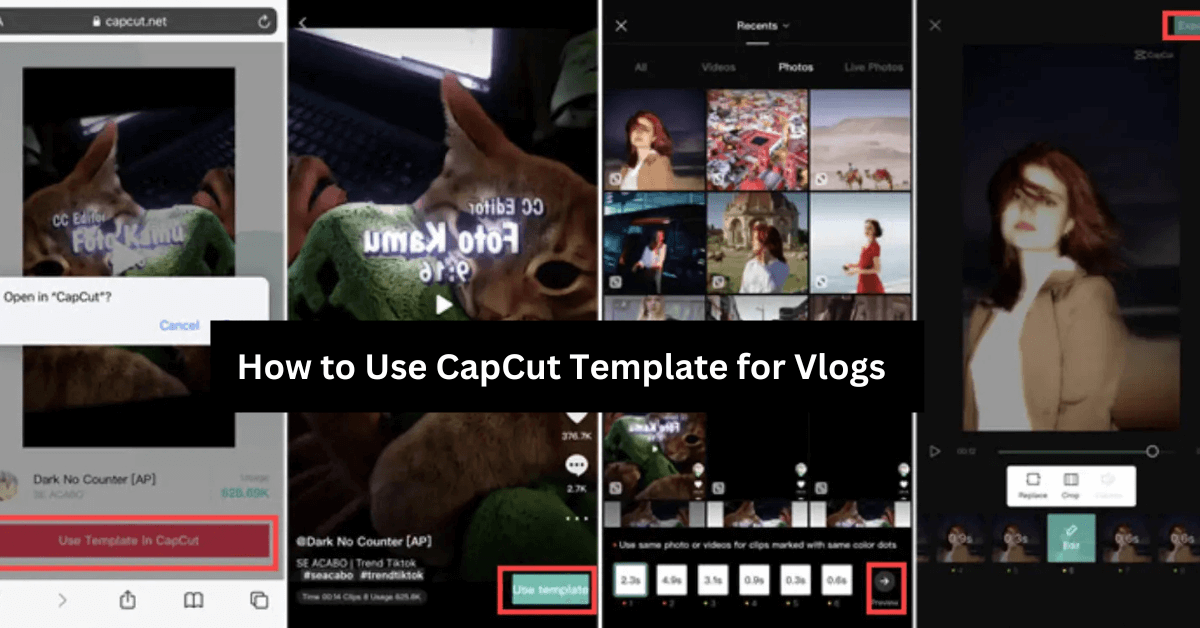
How to Use CapCut Template for Vlogs? First, get CapCut from the iOS or Android App Store. Open the app to start making changes to your blog after you’ve installed it.
Select a Template
When you open CapCut for the first time, there is a “Use Template” button on the home screen. It will take you to a gallery of styles that you can use if you click on it.
Browse Categories
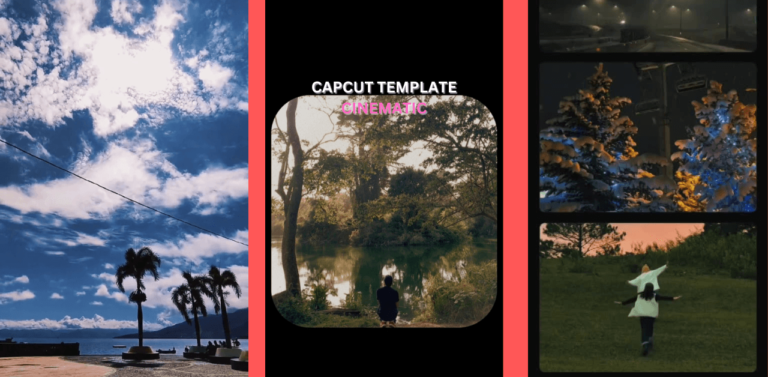
It has a lot of styles with different themes, like “Vlog,” “Travel,” “Music,” and more. You can look through these groups to find a design that matches the style and mood of your blog.
Preview the Template
Before you use a template, you can look at it to make sure it works for you. You can see a sample movie that has the style, transitions, and effects you want when you click on a template.
Select the Template
You can add a template to your project plan by tapping on it when you find one that works for your vlog. By adding your clips to the design, you can now start making changes to your blog.
How to Edit Your Vlog Using CapCut Templates
Import Your Footage:
Press the “+” button to add your video clips to the template. The template will change to fit your video on its own, but you can shift your clips around or trim them if you need to.
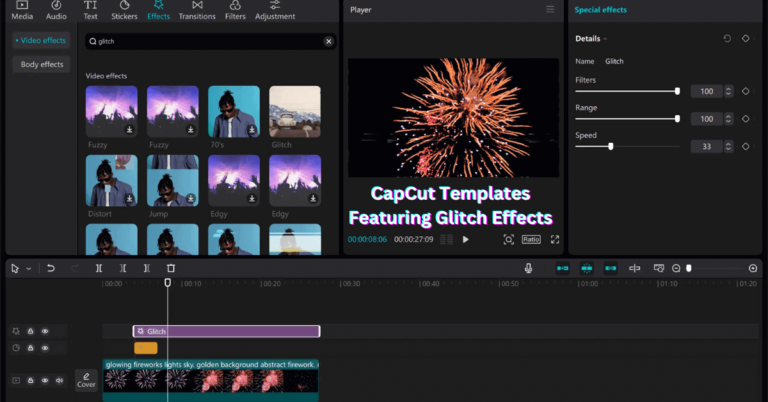
Customize Text and Effects:
Text and effects are often already set up in CapCut files. If you tap on a text box, you can change its text, size, and color. To make your vlog stand out, you can also change the images, effects, and transitions.
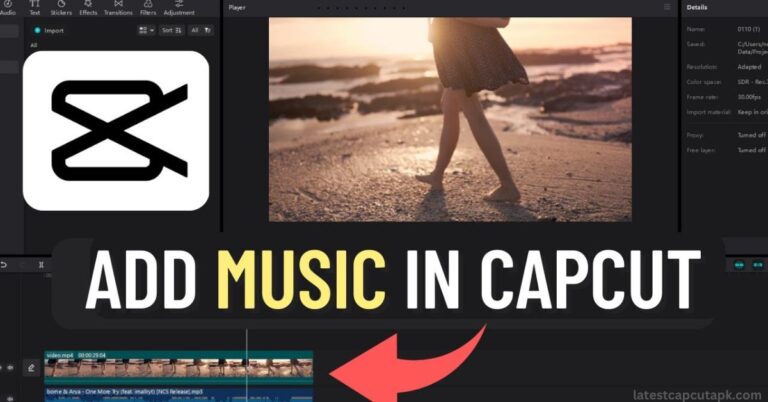
Add Music:
You can add music to the background in CapCut. You can share your own library or use the one that comes with it. You can change the music that comes with the themes to make them better fit your vlog’s mood.
Adjust Colors and Filters:
Your blog will always look the same if you use color filters and changes. To make the movie look better, you can change the color, contrast, and saturation.
Export and Share:
To make your vlog, tap “Export” when you’re done making changes. Choose the size and quality of the video you want, then save it or share it on social media right away.
Conclusion
How to Use CapCut Template for Vlogs. CapCut vlog themes are a great way to make your videos look better without having to spend hours editing them in hard-to-understand ways. The large library of editable templates and simple style of CapCut make it easier than ever to make content that looks professional and interesting. With the themes, it’s quick and easy to add beautiful effects, transitions, and music to your vlog for Instagram, TikTok, or YouTube.