CapCut Templates with Filters
For both inexperienced and seasoned producers, CapCut has become a popular video editing tool. Well-known for its intuitive interface and wide range of editing features, CapCut offers several templates to help you quickly create stunning videos. One of CapCut’s most prominent features is its filters, a tool that enables users to enhance the visual appeal of their movies. In this post, we’ll examine CapCut templates with filters, how they might enhance your editing, and some helpful usage tips.
What Are CapCut Templates with Filters?
CapCut templates are pre-made video layouts that simplify the editing process. You may rapidly create a video that looks professional by using the pre-made music, transitions, and video effects included in these templates. But what sets CapCut apart is the way it incorporates filters into its templates. CapCut templates with filters enhance your films’ visual appeal by adjusting colors, contrast, brightness, and other elements.
These templates with filters allow you to save time and effort without sacrificing a professional look. Video makers like to use CapCut’s templates while editing a TikTok, Instagram reel, or YouTube short
Why Should You Use CapCut Templates with Filters?.
There are various benefits to using CapCut templates with filters:
Time-Saving:
Editing videos from scratch can be very time-consuming, but CapCut templates provide pre-made structures. Thanks to the filters included in the templates, you can easily enhance the look of your movie without having to manually adjust every visual setting.
Consistency:
Your films will always look and feel the same thanks to CapCut’s filter-equipped templates, which will also give them a more professional aspect.
Customization:
You have a lot of freedom to alter the text, music, effects, and other elements of the video to suit your preferences, even though the templates are already created.
Access to Trending Effects:
CapCut updates its library of templates and filters frequently to stay abreast of the latest advancements in video editing.
Popular CapCut Templates with Filters You Should Try
Numerous models in CapCut are designed to suit a variety of aesthetics and moods. Here are some popular ones with built-in filters:
Retro Vibes Template
This design is ideal if you prefer a vintage style. The retro filter’s warm tones and film grain effect will give your films a nostalgic vibe. Movie snippets, vacation footage, and music montages all benefit greatly from it.
Glow Up Effect Template
If you want to add a glow effect to your films, you should use the Glow Up Effect template. Your material will appear more vibrant and energetic thanks to the glowing effect. This template can be used to create beauty tutorials, fashion films, and makeup-changing videos.
Urban Street Style Template
For those who like to create videos about urban fashion, street style, or city life, this template is fantastic. The contrast enhancement makes the video appear and feel crisper, while the urban filter gives it a cool, grunge flavor.
Soft Pastel Template
The Soft Pastel filter gives your film a dreamy, gentle appearance with its gentle pastel hues. It is ideal for delicate, lovely content such as lifestyle videos, art pieces, and personal vlogs.
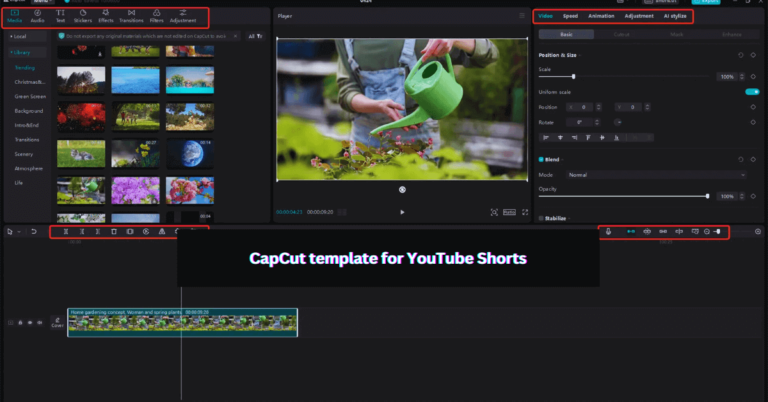
How to Use CapCut Templates with Filters
CapCut models with filters are simple to use. Here’s a detailed plan to get you started.
- Download and Open CapCut: Get the CapCut app and launch it on your tablet or phone if you haven’t already.
- Select Templates: Tap the “Templates” button on the main screen of the app.
- Browse Through Available Templates: Examine the templates and select the one that best suits your work. Seek for themes with integrated filters.
- Import Your Footage: Once you have chosen a style, bring in the videos you wish to modify.
- Customize Your Template: As needed, you can alter the text, music, and filters.
- Apply Final Edits and Export: Make any final edits you choose after you’re satisfied with your film, and then export it in the format of your choice.
Tips for Using Filters Effectively in CapCut
- Don’t Overdo It: Your film may appear overly edited if it has too many filters. Select a filter that complements the overall tone of your video.
- Adjust Filter Intensity: In CapCut, you can adjust the filter’s strength. Try out many levels until you discover the one that suits you best.
- Combine Filters and Effects: To create a unique style that sets you apart from other artists, you can combine various filters and effects.
Conclusion
For both novice and seasoned producers, using CapCut templates with filters into their video editing process transforms everything. Making movies that appear professionally produced is simple with the app’s extensive library of pre-made themes and configurable filters. Whether you want a delicate pastel mood, a luminous makeover, or a nostalgic retro look, CapCut provides all the tools you need to rapidly bring your idea to life.